How to Write a Prompt for an AI Meme Video
 RemakeMeme Team
A practical guide to writing AI meme video prompts: subject, action, camera, location, ending, and how to fix one variable at a time.
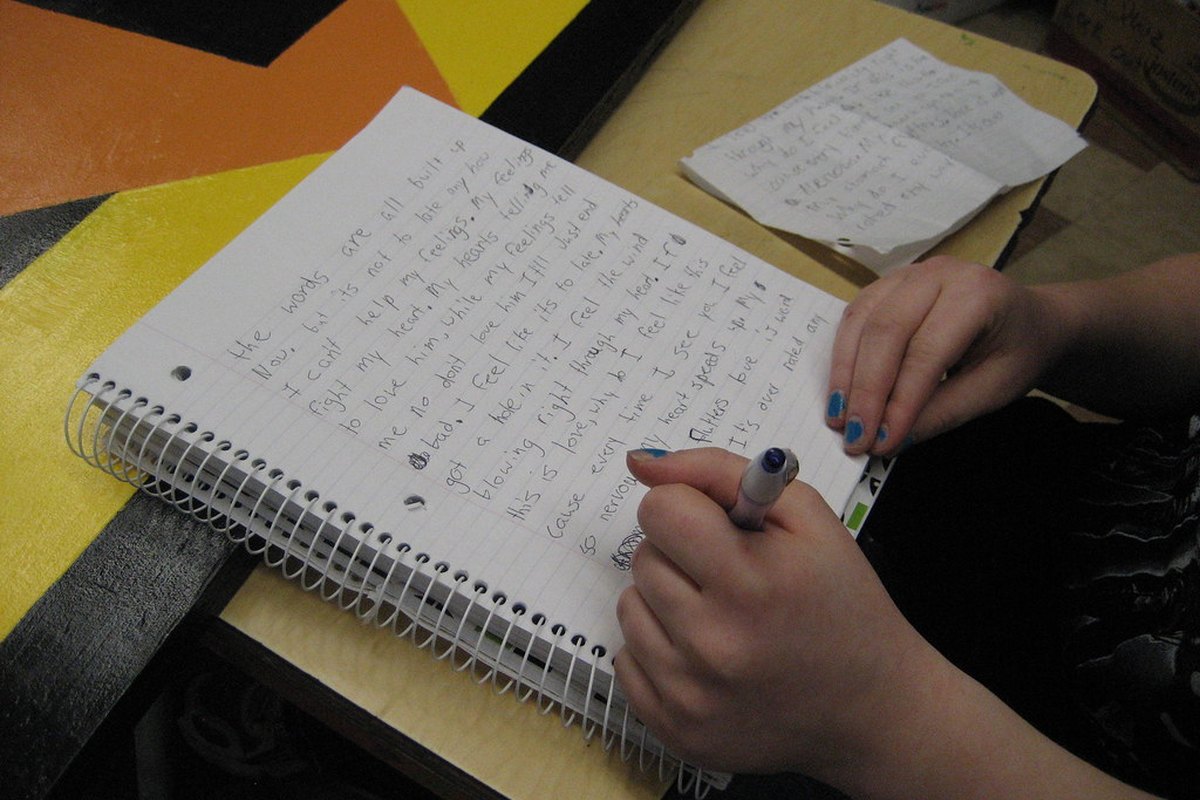
A prompt is a shot list, not a wish
A lot of people type something like "make a funny video of a dog" and then feel disappointed when the result is generic. The model did not ignore them. It followed the only instruction it had. A prompt for an AI meme video works better when it reads like a short shot list: who is in the frame, what they do, where the camera sits, where the scene takes place, and how the clip ends.
RemakeMeme.video uses Standard Seedance 2.0 through kie.ai to render 720p clips at 4, 8 or 12 seconds. You can start from a template or write a prompt from scratch, and you can attach one or two photos. The render is a silent MP4 with no watermark; you add sound later in TikTok, Reels or Shorts. The more concrete your prompt, the less the model has to invent. That is the whole game. If you are new to the workflow, how to remake a meme video walks through the full path from photo to download.
The five parts of a usable prompt
1. Subject
Say who or what is on screen, including the details that change the read: age range (adult), clothing, hair, species and color of a pet, and the object they interact with. If you uploaded a photo, describe the person the same way you see them in the photo so the model has a second anchor. "A man in his thirties with short dark hair and a gray hoodie" gives the render more to hold onto than "a guy".
2. Action
Use one clear action per beat. A beat is a single change the viewer can follow: a stare, a turn, a jump, a double take, a slide across the floor. If you stack three actions into four seconds, the model will blend them into mush. Write the action in plain verbs and say what changes: "starts to smile, then freezes when the door opens".
3. Camera
Camera language is where amateur prompts lose control. You do not need a film-school vocabulary. Choose one of four simple setups:
- Fixed shot: the camera does not move. Best for reaction formats.
- Slow push in: the camera moves closer. Best for a realization or a punchline.
- Slow pull out: the camera moves away. Best for revealing a second person or a mess.
- Handheld follow: the camera trails the subject. Best for dance or walking formats.
Add the framing: close-up, medium shot, or full body. "Fixed medium shot at table height" is enough.
4. Location
A location gives the model context for light, background and props. Keep it to one place and one time of day: "a small kitchen at night, one warm overhead light" or "a plain gray studio background". Busy locations with many objects produce busy frames, and busy frames make it harder for the viewer to find the joke.
5. Ending
The ending is the part most prompts skip, and it is the part that makes a clip feel finished. Say what the last frame looks like: "ends on the cat's head poking out of the box, looking at the camera" or "ends with both people frozen mid-step, staring at each other". Without an ending, the model often drifts or loops. With one, the clip has a place to land.
Weak prompt vs strong prompt
Here is a weak version:
Make a funny video of a cat reacting to something.
Here is a strong version:
A ginger cat sits on a kitchen counter at night. It leans toward a cucumber on the counter, sniffs it, then jumps backward and lands in a cardboard box. Fixed medium shot at counter height, warm overhead light, plain kitchen background. The clip ends on the cat's head poking out of the box, looking at the camera. Vertical, 4 seconds.
The second prompt is not longer for the sake of length. Every sentence answers a question the model would otherwise answer by guessing. The subject is specific. The action has a trigger and a reaction. The camera is fixed. The location is simple. The ending is a visible frame.
Change one variable at a time
When a render is not right, the temptation is to rewrite everything. Do not. Change one of the five parts, keep the rest identical, and render again. If you change the location, the action and the ending at once, you cannot tell which change fixed the clip and which one broke it.
A practical loop:
- Render the first version at 4 seconds. Four seconds is the cheapest way to test a subject and an action (10 credits).
- Watch it once with the sound off, then once more looking only at the ending.
- Pick the single weakest part: the face, the action, the camera, the background or the last frame.
- Rewrite only that part. Keep your previous prompt in a note so you can compare.
- When the 4-second version works, move to 8 or 12 seconds if the joke needs the room.
This is also how you learn what the model is good at. Some prompts fail because the idea is weak; others fail because the model cannot show a particular action in a particular framing. One-variable testing tells you which is which.
Describing two people
Two-person formats are the hardest common case, because the model has to keep two faces, two bodies and an interaction consistent. A few habits help:
- Name them by role, not by pronoun. "The person on the left, wearing a blue shirt" and "the person on the right, wearing a yellow jacket" is clearer than "he" and "she".
- Say where each person is in the frame. Left, right, foreground, background, seated, standing.
- Give each person one action. One reacts while the other delivers the line or the gesture. Do not give both people three actions.
- Describe the interaction in one sentence. "They look at each other, then both turn to the camera" is enough.
- Upload one clear photo per person. A front-facing, evenly lit photo with the face at least a third of the frame gives the render the best chance. For dance formats, use a full-body or knees-up photo; for reaction formats, head and shoulders is enough.
If the two people look similar, add a distinguishing detail: glasses, a hat, a different hair length, a different shirt color. The model needs something to separate them.
Keep text and logos out of the frame
Image and video models are much better at faces and motion than at writing. Signs, T-shirts with slogans, phone screens, shop fronts and product labels often come out as melted letters. That looks like a rendering error even when the rest of the clip is good.
Write the prompt so there is nothing to read: "plain wall", "unmarked cardboard box", "solid color shirt", "no visible text or logos". If the joke needs a caption or a sign, add it after the render in your editor. Do not ask the model to spell a long sentence on a sign; you will spend credits on a frame full of nonsense.
The same rule applies to real brand logos. A logo in the background is both a visual distraction and a rights problem. Keep the frame generic.
Duration and aspect ratio
The studio offers 4, 8 and 12 second clips. Pick the duration that matches the number of beats, not the maximum you can afford.
| Duration | Credits | Best for | | ---------- | ------- | ---------------------------------------------- | | 4 seconds | 10 | One reaction, one punchline, one loop | | 8 seconds | 20 | Setup plus payoff, a short two-person exchange | | 12 seconds | 30 | Two people, a location change, a longer build |
A 12-second clip is not automatically better. If the idea is one beat, a 4-second version often lands harder because there is no dead air. Credits are charged only when a render succeeds, and failed renders are refunded automatically, so a short test is a cheap way to find out whether the idea works. The full credit table is on pricing.
Aspect ratio is a distribution decision. Vertical is the native shape for TikTok, Reels and Shorts; horizontal is for landscape players and embeds. Decide where the clip will live before you render, because a vertical composition does not always survive a crop to horizontal. Keep the important action near the center of the frame if you plan to reuse the clip in more than one place.
Editing a template prompt
Templates are pre-written shot lists. They already specify the photo count, the action, the camera and the aspect ratio that the format was built for. That makes them a good starting point even when you want something custom.
Open the template library, pick the closest format, and read the prompt as a checklist. Then change one line. Keep the camera and the ending. If the template says "fixed medium shot" and you want a push-in, change that line only. If you want a different subject, change the subject description and leave the action alone. The structure is doing real work; you are just swapping in your own details.
This is usually faster than starting from a blank prompt, and it keeps the photo requirements honest. A template that expects one head-and-shoulders photo will not suddenly work with a full-body shot of two people. If you need a different setup, start a custom prompt instead.
A short checklist before you render
- Who is in the frame, described in one sentence?
- What is the one action, and what triggers it?
- Where is the camera, and does it move?
- Where does the scene take place, and what time of day is it?
- What does the last frame look like?
- Is there any text or logo that the model might mangle?
- Does the duration match the number of beats?
- Does the aspect ratio match where you will post?
If you can answer all eight in one breath, the prompt is ready. If you cannot, the model will answer them for you, and it will probably choose something blander than you had in mind.
FAQ
Do longer prompts always produce better videos?
No. A long prompt helps when every sentence adds a concrete detail. It hurts when it repeats the same idea or gives the model contradictory instructions. Five clear parts beat twenty adjectives.
Can I use two photos in one prompt?
Yes. You can upload one or two photos. Give each person a distinct role, position and action in the prompt, and use one clear photo per person. Two people in one photo can also work, as long as both faces are visible and evenly lit.
Why did the model ignore part of my prompt?
Usually because the prompt had too many competing actions for the duration, or because one detail was vague enough that the model chose a default. Cut the number of beats, make the action physical and visible, and test one change at a time. If a render fails outright, the credits are returned automatically.